


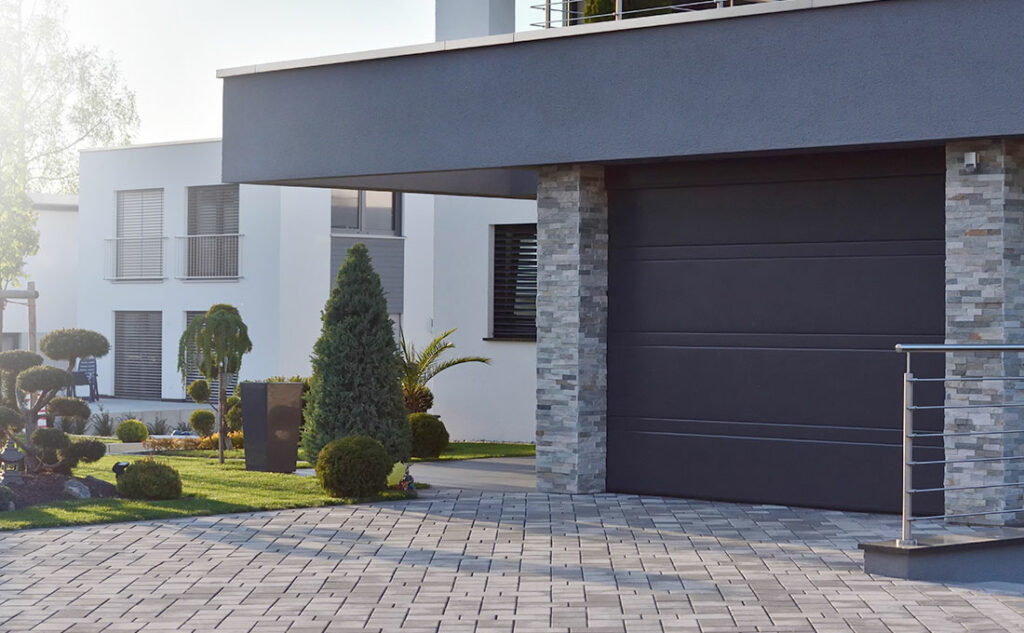
Winter is not yet upon us but, in order not to be caught unprepared and to pass on to home surfaces and not only, it is important to adopt solutions that guarantee their maintenance.
In fact, during the winter months we often make the mistake of “forgetting” the external parts of the house, but the risk is to find ourselves with the arrival of spring, with surfaces more or less damaged by atmospheric agents that need to be restored.
Specifically, we refer to the surfaces in stone and wood materials which in this season could in fact be deteriorated, for example, by humidity: what to do then?
The solution is simple: just protect the external surfaces before the cold arrives with the right products and following the correct procedure. In this way it will be possible to protect the stone surfaces and extend the treatments on external woods.
But let’s see what are the correct steps to follow and the products to use.
How to protect stone surfaces?
To protect stone materials, which however must already be treated with water repellents or finishing waxes, you can easily use the COTTO AND STONES MAINTENANCE KIT, consisting of ECO MARBEC, PAV05, a professional handle for cleaning floors, a frame in professional aluminum with profiles for velcro system and Lock System receptacle, a PULI-SCRUB, a microfiber and polypropylene cloth with velcro system and color code label and SMART-FUR, another microfiber cloth with velcro system and color code label.
The instructions for use are to start a deep cleaning with the ECO MARBEC ecological detergent to remove the dirt that has deposited during the summer, then applying the finishing wax PAV05 to protect the surface from the formation of algae.
What if, on the other hand, it is a question of external wooden surfaces?
How to extend treatments on external woods
To extend the life of impregnation treatments on external woods, you must first use the anti-degradation finish BARRIER, which makes the surface of the wood and its micro-cracks more water-repellent and therefore more protected from dirt, as well as from UV rays.
First, the BARRIER package is shaken before use and, if necessary, the surface to be treated is cleaned, removing the dirt with DETER CLEAN.
At this point, BARRIER is spread with a panel (one coat is enough), wetting the surface with a thin and uniform layer and avoiding excesses.
BARRIER dries quickly in 20-30 minutes, it is not necessary to polish and can also be used for the protection of wooden frames.
Finally, to maintain the characteristics of the basic treatment and the wood essence, we recommend the application of BARRIER every 6-12 months.
Thanks to the COTTO AND STONE MAINTENANCE KIT, to Marbec products such as BARRIER and DETER CLEAN and following the right procedure, therefore, your stone and wooden surfaces are ready to survive the winter without fear!
Do you have any questions about how to protect your exterior surface and what are the right products to use?
Do not hesitate to contact us, we will be happy to answer you!

Parquet flooring is one of the most popular choices in modern homes. It looks elegant, feels warm underfoot and enhances any room. However, to keep it beautiful over time, you need to know how to clean parquet flooring and how to wash a parquet floor without damaging it. For this reason, it is important to choose the right method and the right product for each finish. In fact, varnished parquet needs different care from oiled or waxed parquet. In this complete guide, you will discover which mistakes to avoid and which products to use to keep wood clean, protected and attractive for longer.

Can an oak parquet floor stained by moisture and construction residue be restored without sanding? That was the challenge faced by EASY PARKET by Francesco Ghelardi during this project in Prato, Tuscany, Italy. The floor, installed throughout the bedrooms and hallway of a private home, showed dark stains caused by moisture trapped under a nylon covering during masonry work, together with typical post-construction dirt and residue. Thanks to a technical and conservative approach, the surface was restored without sanding. This choice preserved the original micro-bevel of the parquet and brought back the natural beauty of the wood.


